How To Make A Paper Anemone - Cricut Maker

How To Make A Paper Anemone - Cricut Maker

Hello again!

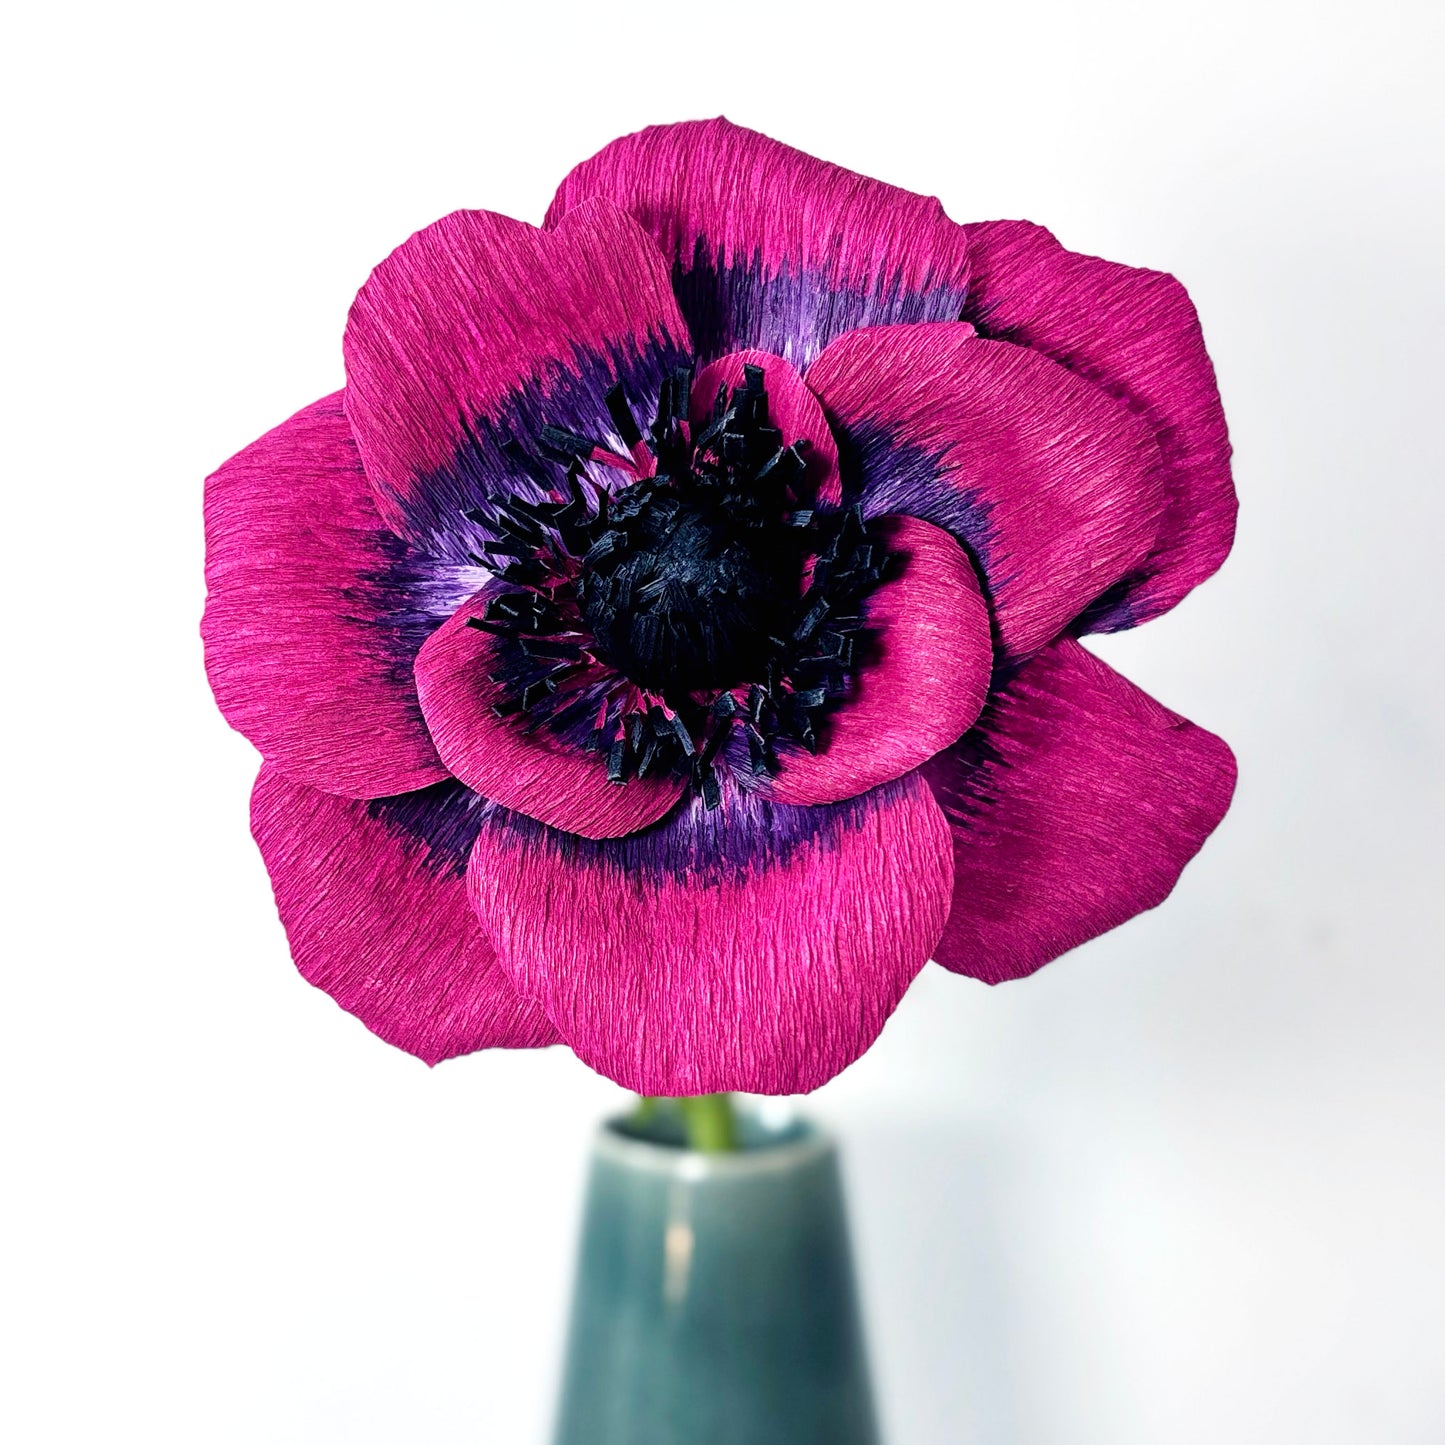
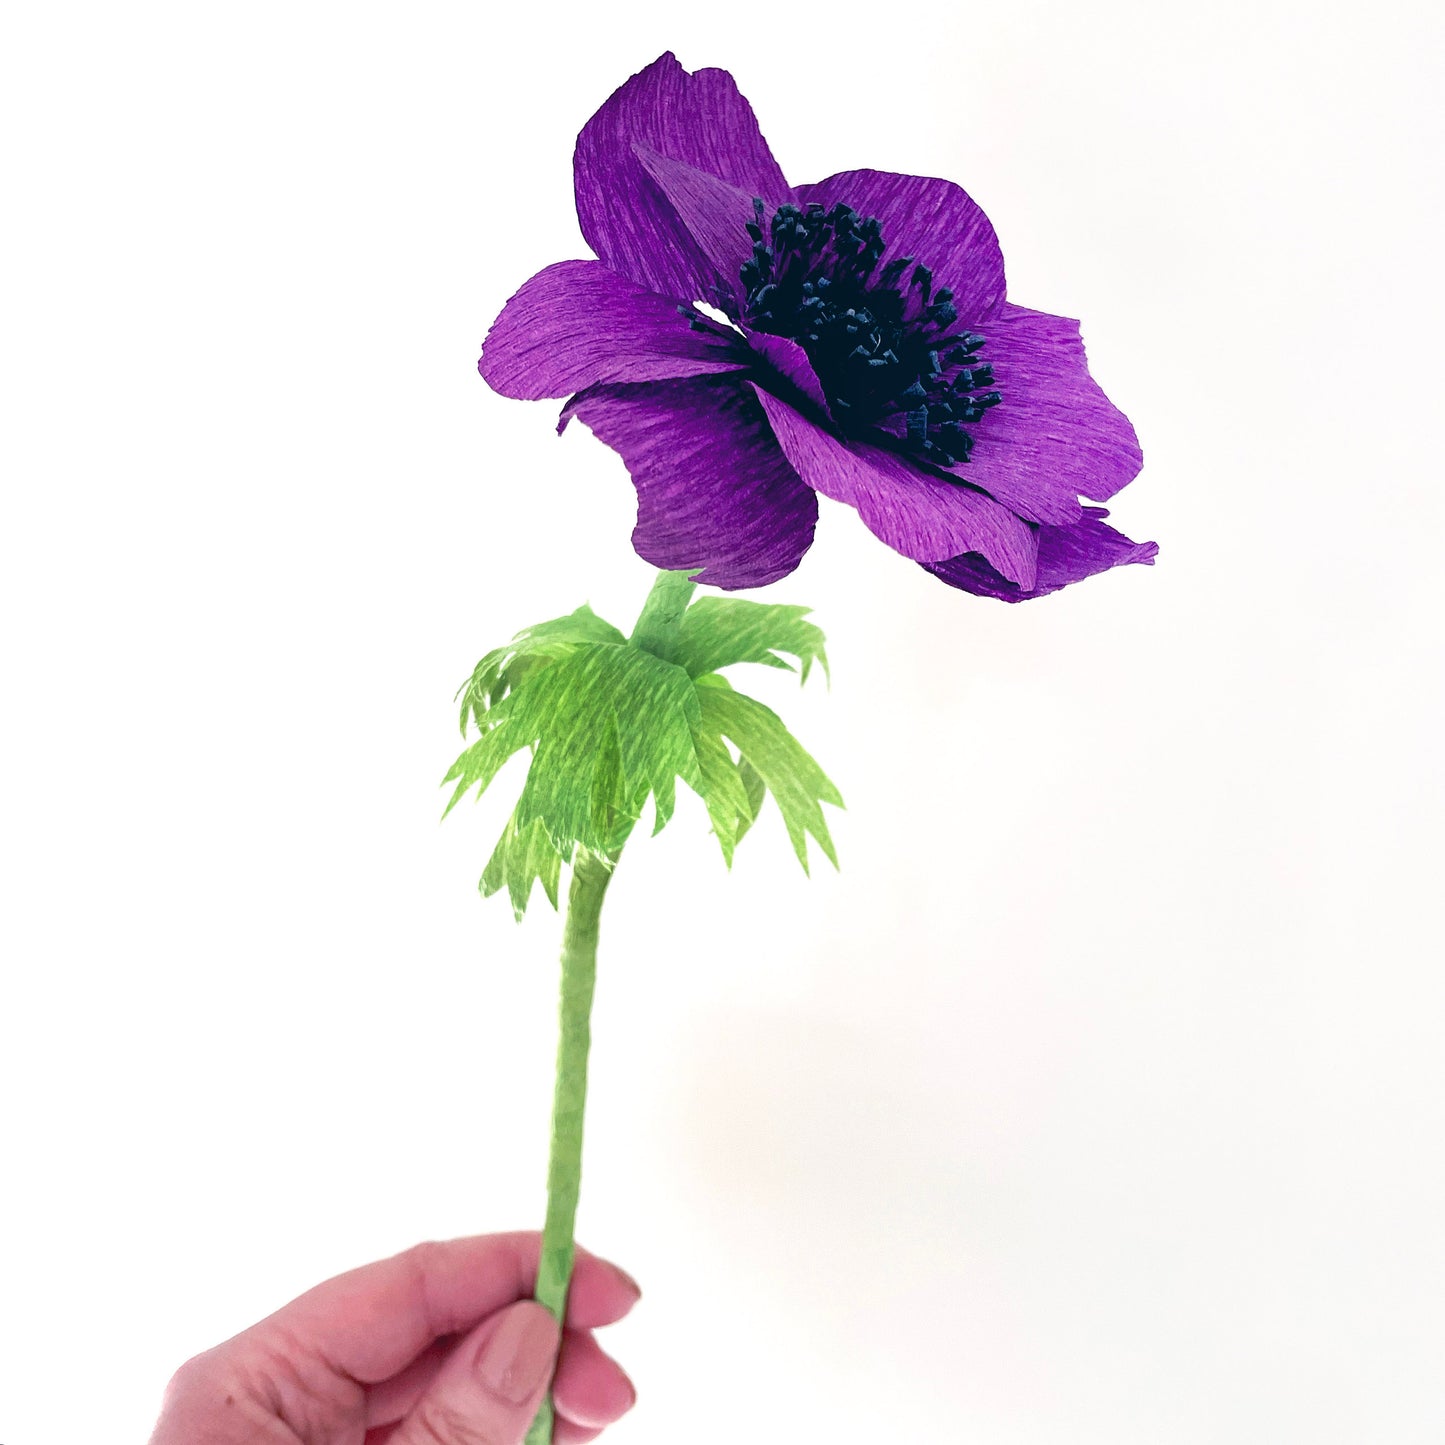
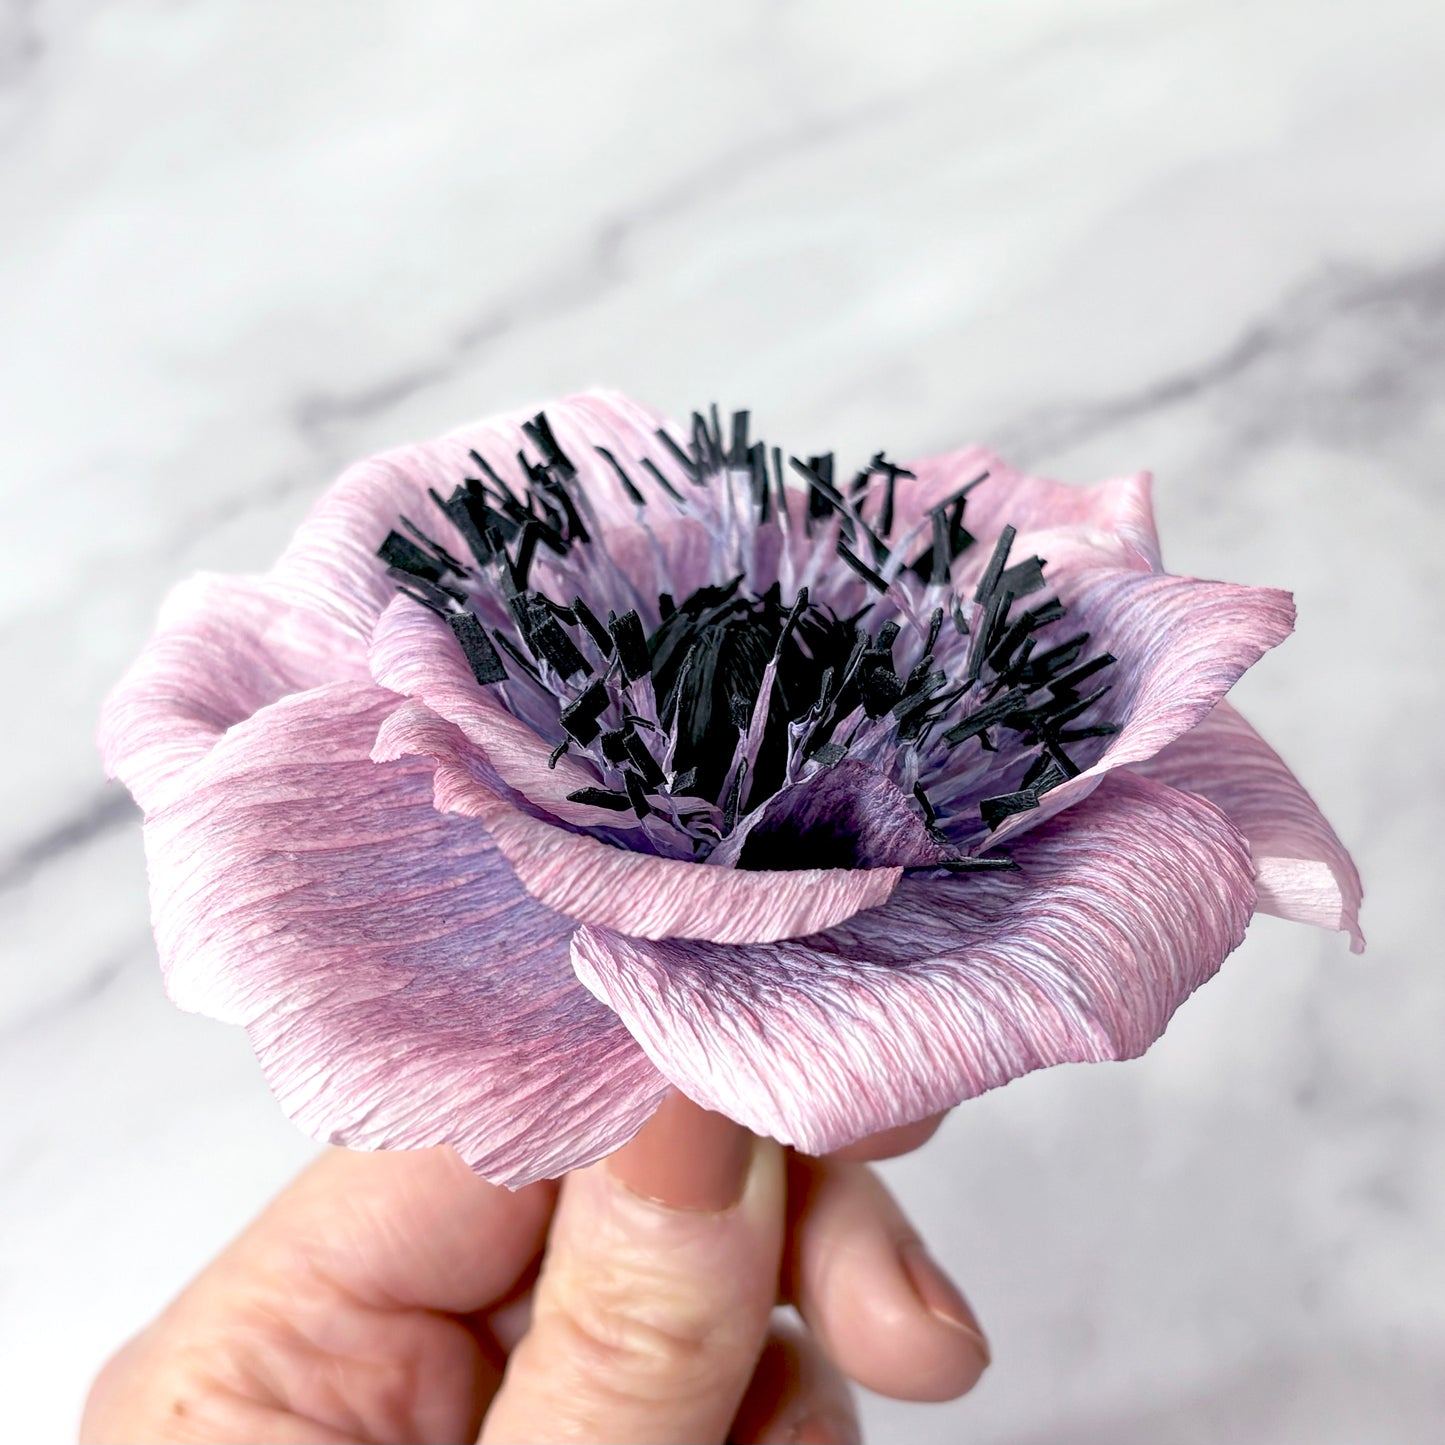
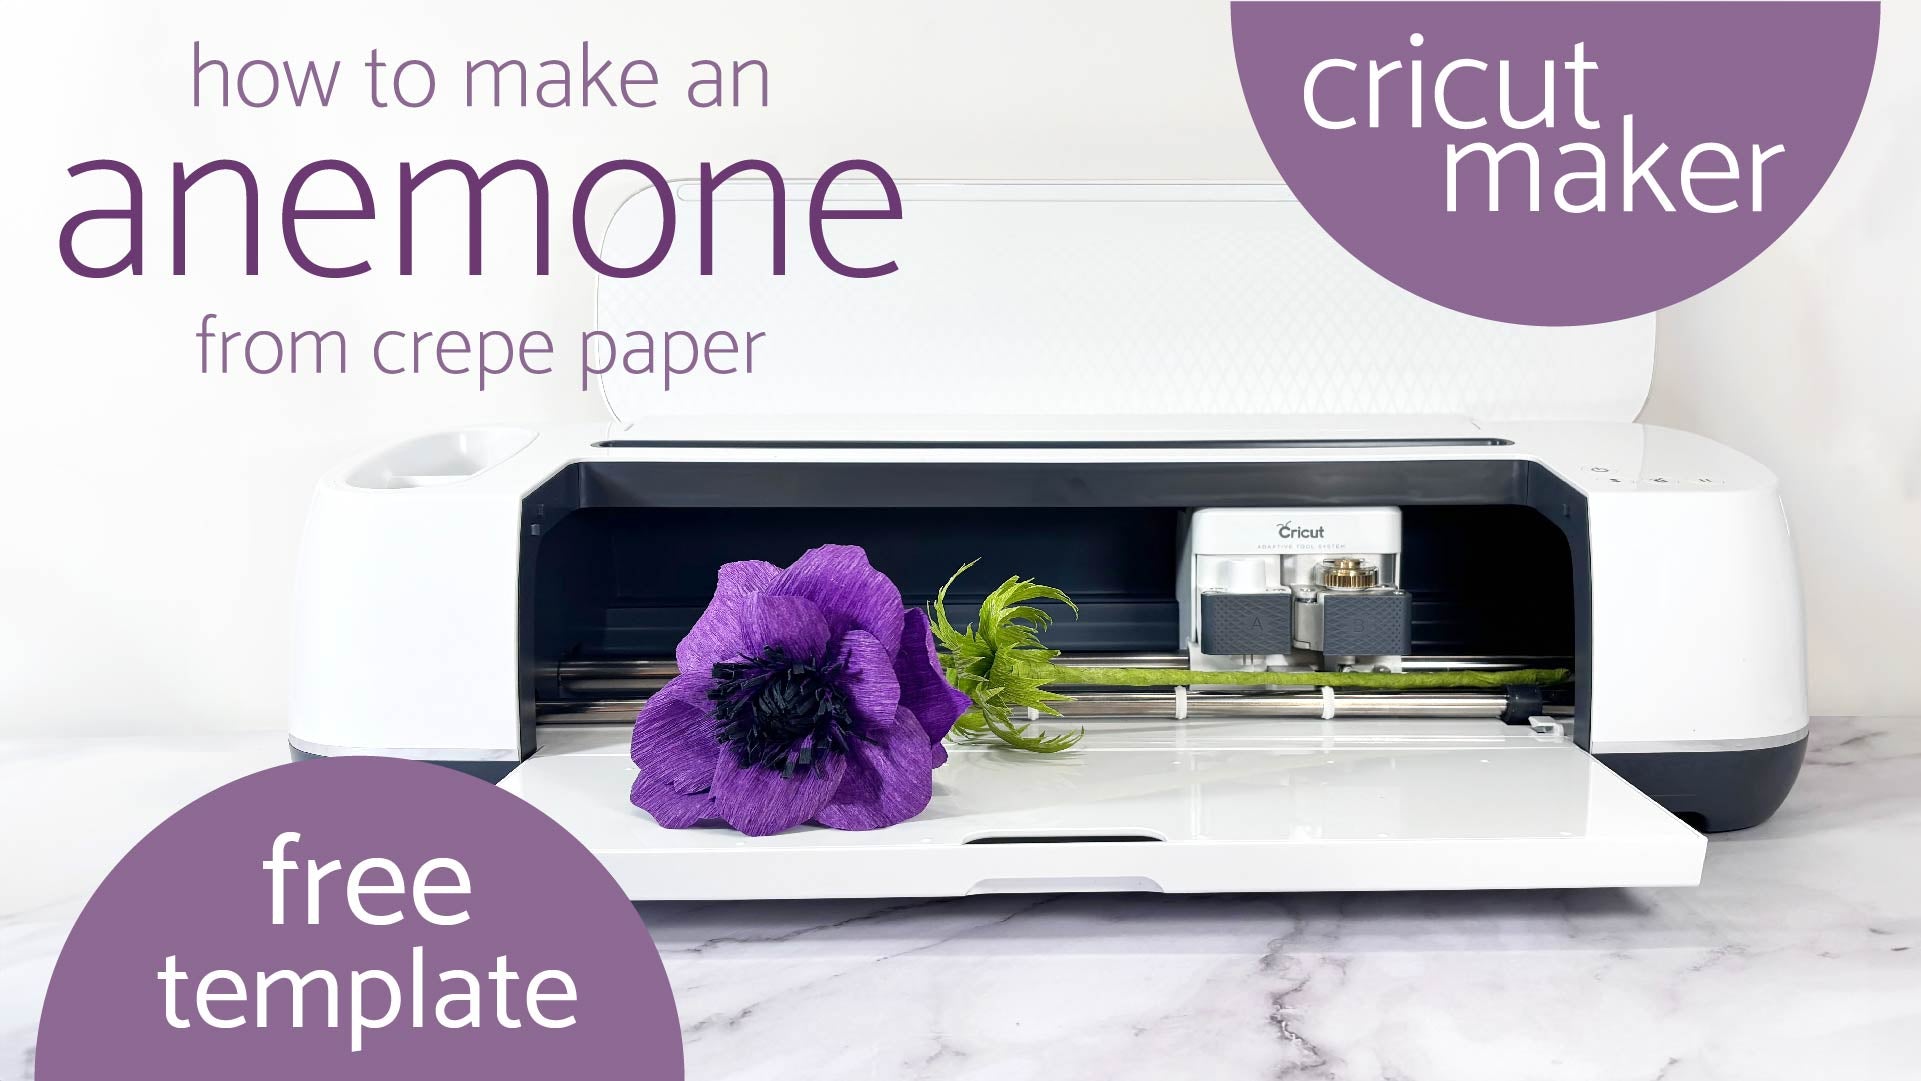
Last week I promised you a tutorial to make my paper anemone using a Cricut Maker, and here it is!

circut maker paper flower template

There are alot of similarities between the cut by hand and cut by machine versions of the paper anemone tutorial, but some of the steps are a little different. Using a Cricut Maker to cut out your petals and leaves is actually very simple, but it can be a little bit daunting to get the process right at first if you're not sure where to start. So I wanted to make a specific tutorial showing you the steps I use to make a paper anemone with help from my trusty Cricut Maker!

If you're interested in giving the Cricut version of the tutorial a try, then download the FREE SVG file here, and click the image below to watch the video tutorial now!


Happy flower making!

Michelle

Back to blog

Leave a comment

Please note, comments need to be approved before they are published.

materials I used for this paper flower template

Cricut Maker

If you plan to make a large number of flowers, or even just some of the more intricate petals, a Cricut Maker is a game changer.

To be able to use the Cricut Maker for paper flowers, you need to stretch out the paper to 90-100% first, so it's not the best fit for every flower, but it works incredibly well for the Anemone - particularly for those intricate leaves!

I use the rotary blade and strong grip mat in this video. As well as the basic tool set.

Crepe Paper

Heavyweight German crepe paper. I'm using the Lia Griffith range.

Petal - Plum

Centre - Onyx

Leaf/stem - Spearmint

TIP - Spearmint and Basil are very similar colours, so if you are buying the Botanical Gardens crepe paper pack to get the Onyx colour, you could easily swap Spearmint for Basil instead!

Floral Wire

I'm using 16 gauge, but either 16 or 18 gauge, paper or cloth covered would be fine.

Tacky Glue

My favourite glue is the Aleene's Tacky Glue. I also used a small pot and cocktail stick to decant some glue into to make it easier to work with.

Ruler

You'll need a standard ruler or measuring tape to cut the paper to the right size.

Scissors

You need a good quality pair of sharp scissors. My favourites are the ones with the fine point which cut right to the end of the blade.

I also recommend the scissors with a spring action, and/or with no finger loops as they're much more comfy to cut multiple petals with.

Pliers

Used to cut your wires to length. These don't need to be anything special, just regular household pliers from a hardware store will work great.

Mod Podge

I highly recommend that you use Mod Podge to finish your leaves for this template.

The shape of the leaves is quite intricate, so it really helps to add a bit of rigidity and to stop them getting damaged. It's also pretty tricky to get the correct bend on the leaves without it.

I usually prefer to use the matte finish, but either matte or glossy will work well.

You'll also need a large fluffy paintbrush (mop brush) to apply it with.

Workspace Protection

To stop the mod podge making a huge mess of your workspace, I recommend you put down a layer of protection first. I like to use cling wrap/kitchen film for this.

(This site contains affiliate links to some products. I may receive a very small commission for purchases made through some of these links, at no extra cost to you. By shopping through them you're helping to support my small business, and I really appreciate it!)
Ta Muchly!

watch the paper anemone tutorial below