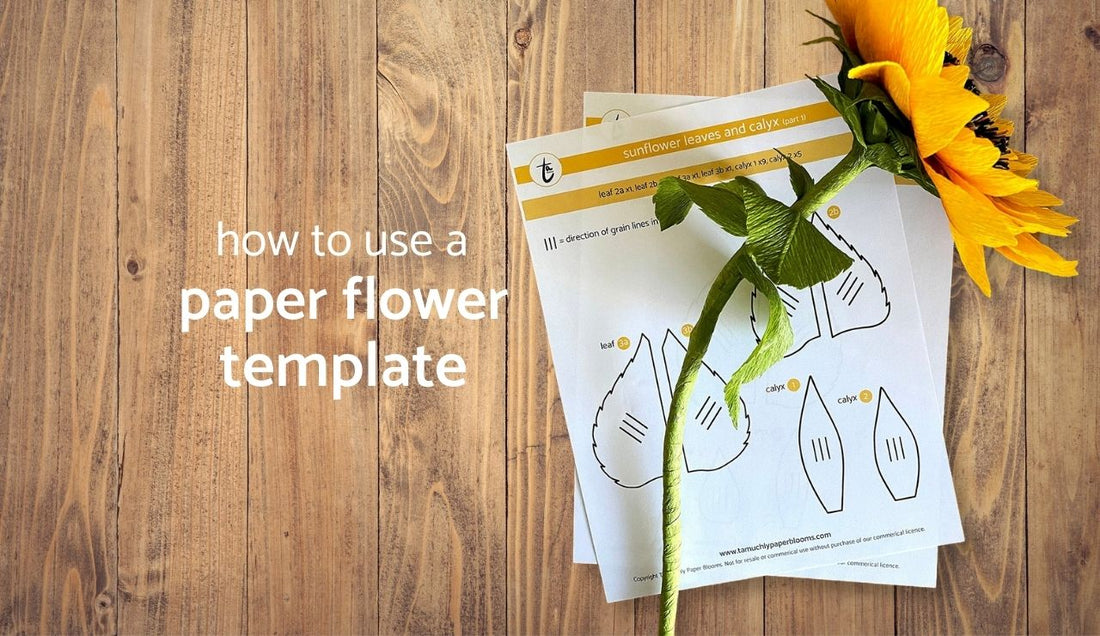
There’s a whole host of paper flower templates out there. Some of them are free, and some are paid. But, how do you get started using them? Today I’m going to quickly show you how to use a paper flower template.
Watch the video below, or keep reading to find out more.
I’ll be showing you using some of my favourite paper flower templates. I have a mix of both free beginner templates and more advanced paid ones available under the Template section. But I suggest you get started with one of my free ones, such as the paper peony or the hibiscus.
1. CHOOSE YOUR TEMPLATE AND DOWNLOAD IT
So first up, choose your template, either one of mine, or from another paper florist. If you’re using one of mine, you just need to add as many templates as you’d like to your cart, and then complete the checkout process. If you’ve chosen only free templates, you still need to checkout, but you don’t need to enter any payment details. You’ll get a link to download it, and it’ll also be emailed to you.
2. PRINT THE TEMPLATE, TRANSFER ONTO CARDSTOCK
Print out your template on your home printer. You can just use regular printer paper.
Then cut out your template. Make sure you cut to the outside of the lines, and include any detail cuts.
I suggest you transfer the template onto cardstock so that it’s more durable and then you can keep using it for future flowers too. If your printer is able to print direct onto card then you can skip this step, but most home printers don’t take thicker card. So to transfer it, you can just trace around your paper template, and then cut out again.
3. MAKE SURE TO LABEL THEM AND ADD THE GRAIN LINES
Label the name or number of each piece, so you can easily refer back to it. And then add the grain line directions. These 3 little lines indicate which way the grain lines in the paper should run. So this step is really important, because getting the grain lines in the wrong direction can really ruin a flower. Crepe paper will only stretch in one direction, so left to right, not top to bottom for example. It’s also very common to use the grain line to actually add details, like with a leaf, you want to create a V shape with the lines so that it looks more natural.
4. STORE THE PIECES TOGETHER
Store all of your pieces together for each specific flower. You can use small boxes, or I like to use resealable food bags, so that I can label them easily.
5. KEEP IMPORTANT NOTES TOO
Cut out any important notes and keep those in the bag too. Make sure to keep a note of the paper florists name and details, so you can credit them if you share your finished bloom on social media.
6. USE YOUR TEMPLATE!
Then once you’re ready, you can use the template to cut out your flower from crepe paper. Make sure that you follow any specific instructions from the paper florist before you get started, so you know how much to stretch the paper either before or after cutting.
And that’s it! I’ll have a video with tips for cutting your petals on my YouTube channel soon, so make sure you’re subscribed so that you get a notification when that goes live. You can also subscribe to my email list and then you’ll be the first to get notified when I launch new videos and templates, as well as get access to special discounts that I don’t offer anywhere else.
Until next time, happy flower making.
Michelle

